
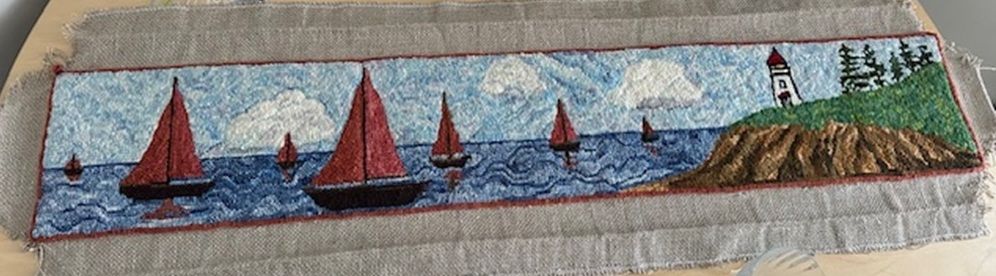
What happens when you neglect to ask if the framer has worked with textiles?
Imagine this; you deliver a lovely, hooked piece (36×6.5 inches /90x16cm) bordered with one line of red loops to a professional framer, and it comes back with the red loops completely covered by the frame.
Taking it out of the frame you discover a mounting board had been stapled under the linen backing with way too many staples, and either double-sided tape or glue used as well, with the corners cut into the fabric backing as you would cut paper, right up to the last row of loops – this was how it looked – all chewed up! 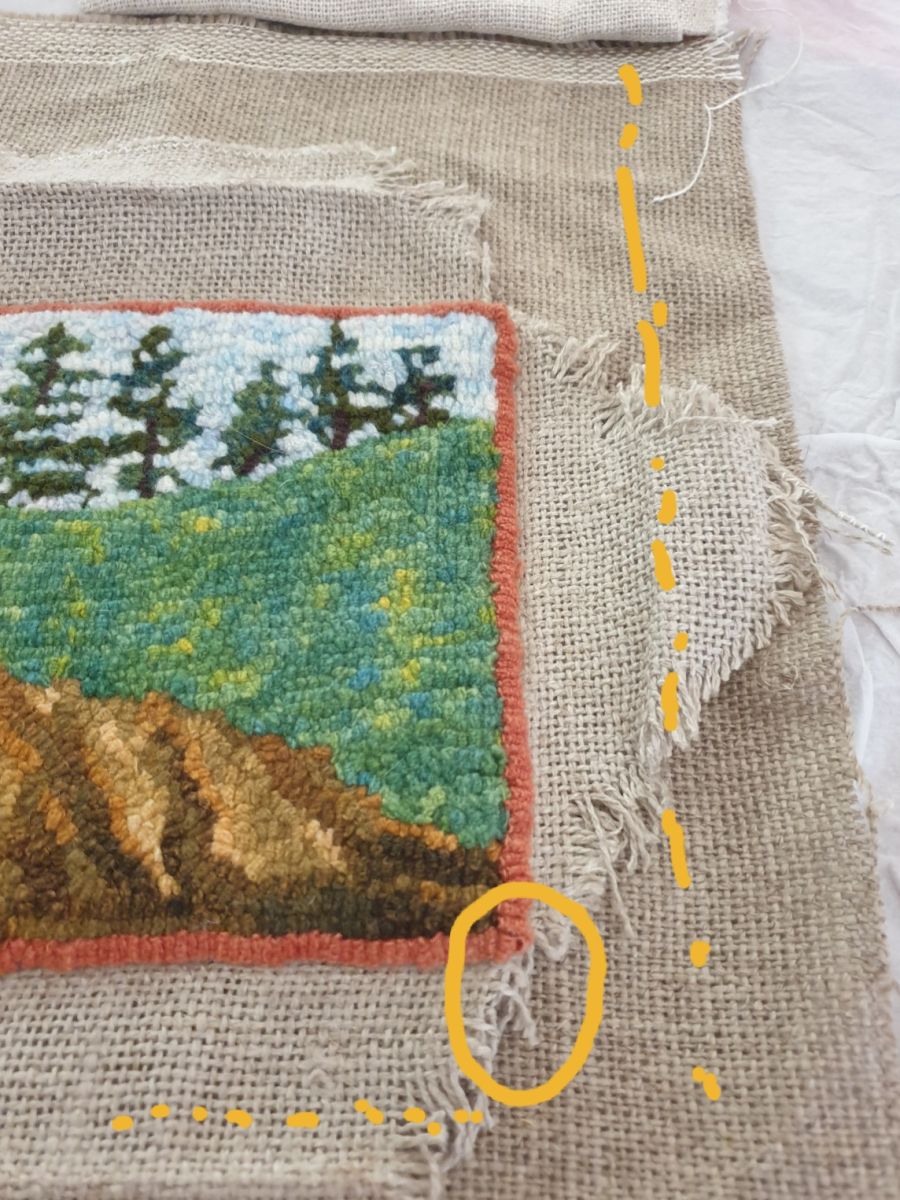
The Owner of this piece who lives on the East Coast of Australia contacted me through my website looking for a rug repairer and sent the image shown above and detailed here. I contacted a couple of rug hookers in the Eastern States, but they were not interested in taking on the repair, so I offered to make the repair myself. It would need to be mailed to me as I live approximately 3,294 kms (approx 2,046 miles) away on the West Coast. However, as the piece was long and narrow it could be rolled, into a small bundle to mail, so there was not much difference cost-wise sending it locally to someone in the East or across the country.
Looking at the image I decided I could add pieces of new backing in the corners and darn over the rough edges of the existing backing holding them down to the new backing. My idea was to then cut off the excess original backing at the fold and roll what was left to the front including what had been darned, and whip stitch over the rolled edge using wool of a matching or complementary colour.
This was my first rug repair for someone other than myself. Checking for other ways of fixing this piece, I ordered a digital version of Judy Taylor’s book Save That Rug! 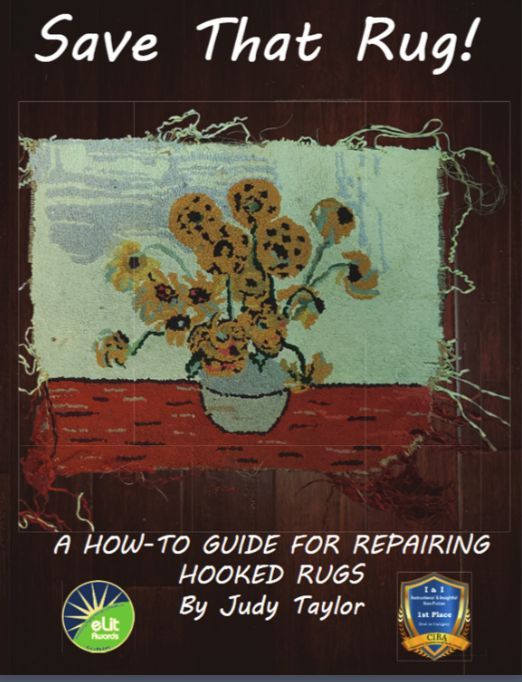
The best part about ordering a digital version was not only would the book be less expensive and wouldn’t incur expensive international shipping, but I also wouldn’t have to wait weeks for it to get it here. The order went in and I instantly had access to the flip book.
I could see my idea of darning onto patches of new backing was covered in the book. However, with a slight difference… in the book, hooked loops in the area to be repaired were removed and the wool strips that could be salvaged were hooked back into both the existing and new backing along with new strips of wool matching the colour. Judy Taylor said she repairs hooked rugs using wool yarn even if the rug was hooked with wool strips, as it’s easier to match the colours and isn’t obvious in the repair. It’s a good idea to practice this on an old rug first; I had one in my collection that didn’t hold any significance, otherwise I’d have purchased a raggedy old rug from eBay as a practice piece.
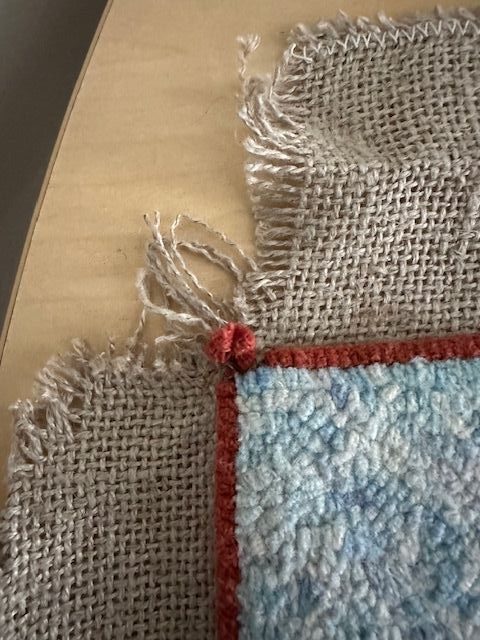
The piece in question was beautifully hooked by a Canadian rug hooker using what I’m guessing is size #3 or maybe even #2 strips of wool, so I didn’t want to encroach on the hooked surface since it seemed to be merely a matter of stabilizing the last row of hooking. There were a couple of loops of red wool pulled out in the top left corner where the weave of the backing expanded as the cut went into the adjacent row. A relatively simple fix with hook and burling iron.
On further reflection, the turning to front and whipping wouldn’t work because I’d added a larger piece at each end of the rug to help stablize the corners and without it being hooked into, it would have shown on the back; besides the owner particularly wanted a border of the linen backing left around the piece to show as a mount when the piece was framed.
The Owner and I had some email conversations back and forth and I agreed to stabilize the corners, fix the red loops and make the repair with about 1.5 inches of backing showing as a border.
To do this, I purchased a length of primitive linen from my rug hooking friend Judi Tompkins in Queensland. Judi works with rug hooking techniques to create sculptural and 3D textile pieces, so she had some idea of what I was faced with to make this repair. Although I didn’t keep track of the exact hours spent, Judi and I had many online video conversations about the project, and I photo documented each step. 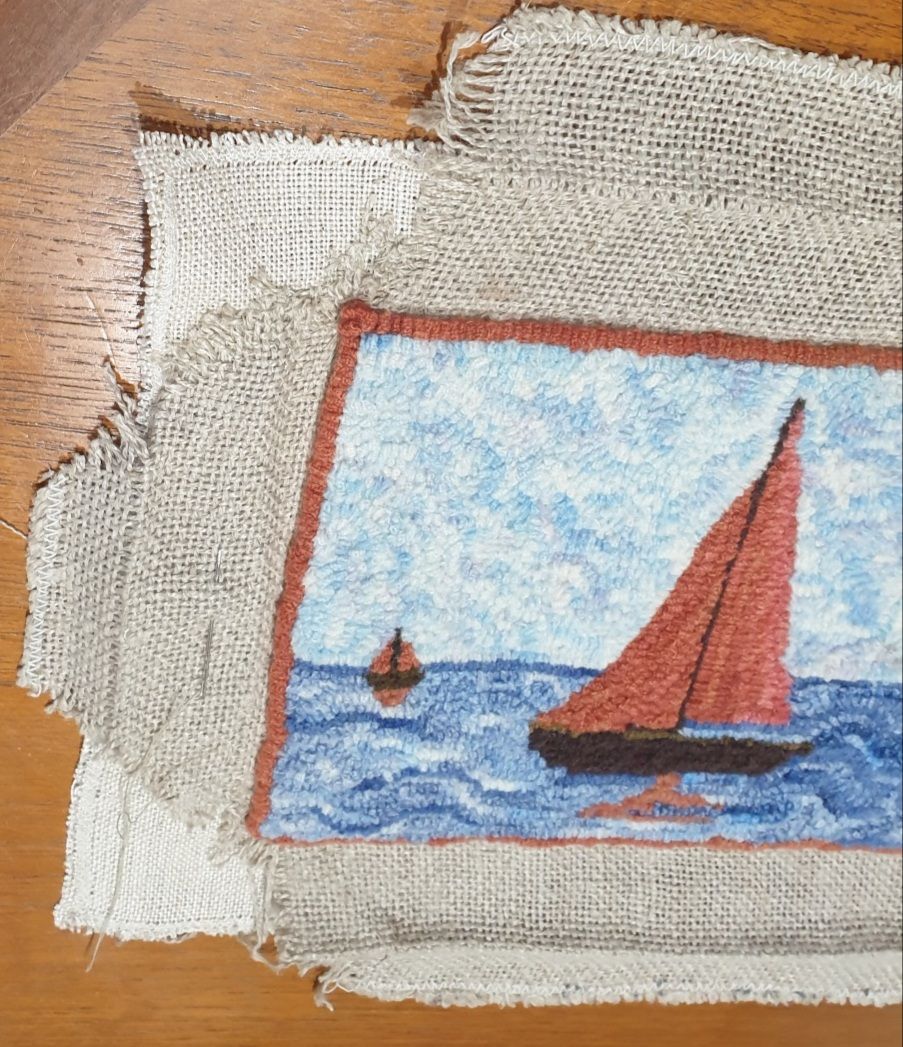
Here are the raggedy edges at each corner of the piece darned onto the new backing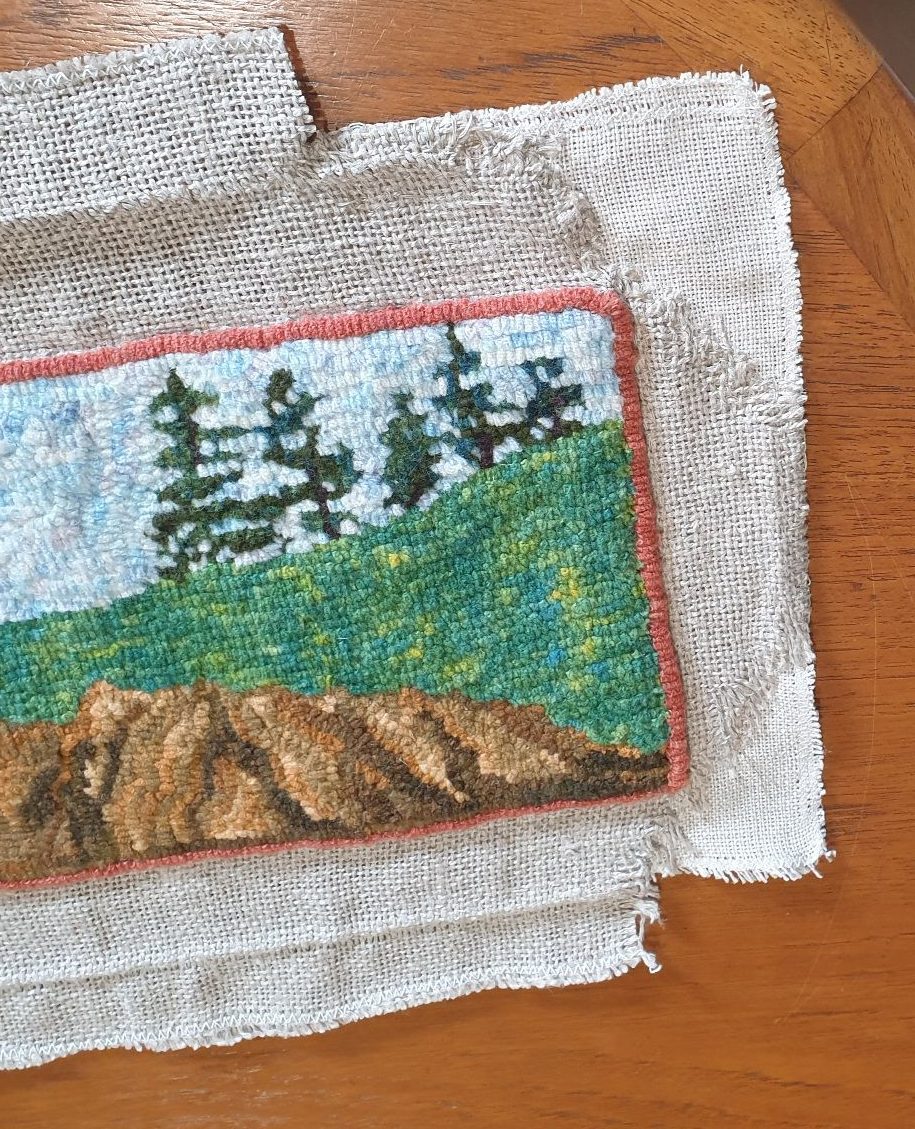 . To give strength and stability to the corners, at each end I used one piece of lightweight backing that I had on hand.
When I say “darned”, I stitched over and under the warp and weft of the ragged original backing into the new pieces of backing to prevent the cut loose ends moving.
Then I cut off the excess original backing at the fold and laid the whole thing on top of the newly purchased linen which was turned over to the front with a turn under by the last row of hooking. I stitched in and out of the weave close to the base of the red loops using a strong thread the same colour as the new backing to stabilize the last row of hooking. 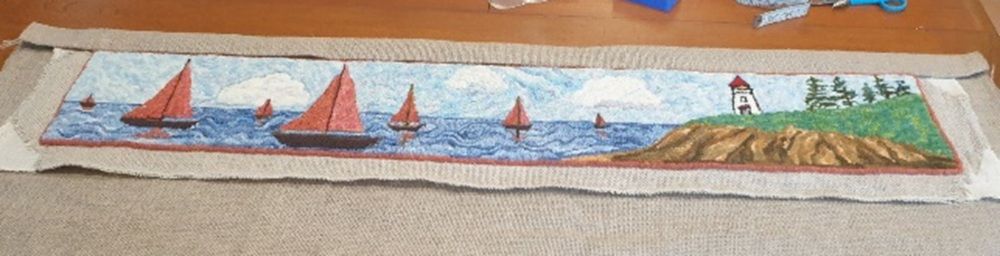
Then came the tough part – the corners! All stitching was being done by hand, so they weren’t your typical mitred corners stitched on the sewing machine. Fortunately, I had a piece of backing left over, so I constructed a practice piece – with the same size turn overs and layers as the main work giving me a place to play around and try and come up with neat corners without compromising the one and only piece of linen I had for the repair.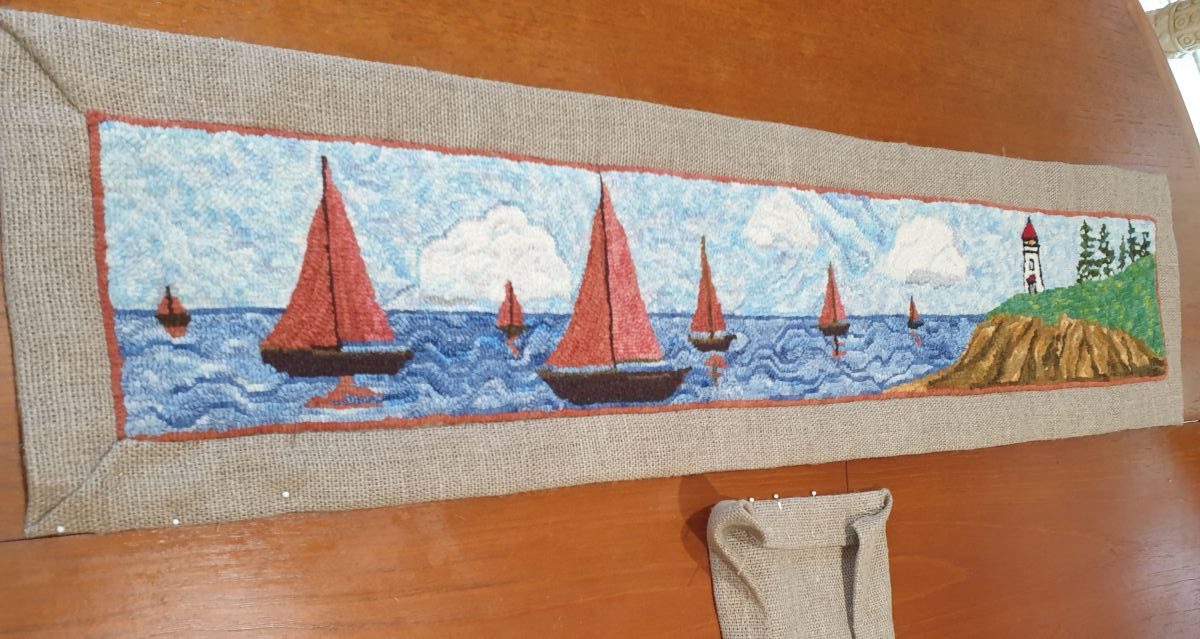
Here’s the finished work and the backing with the border stitched through into the backing such that the stitching doesn’t show…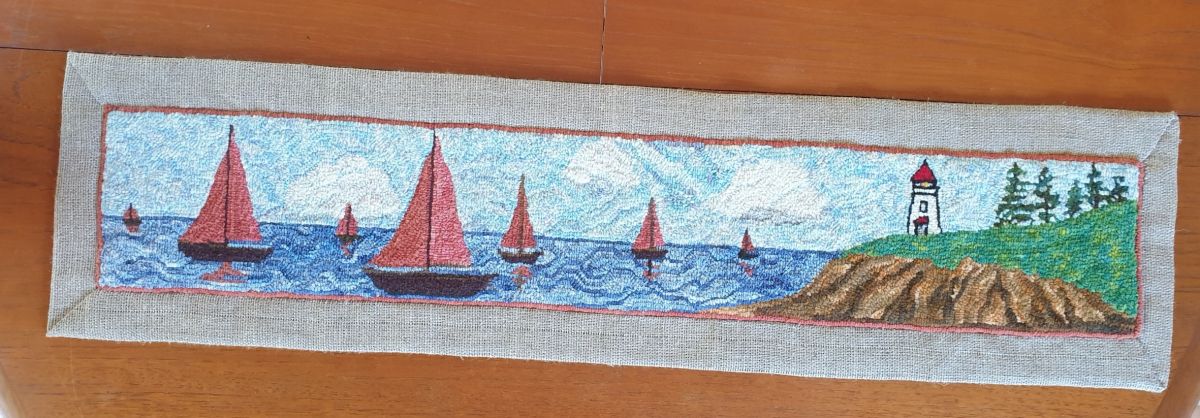
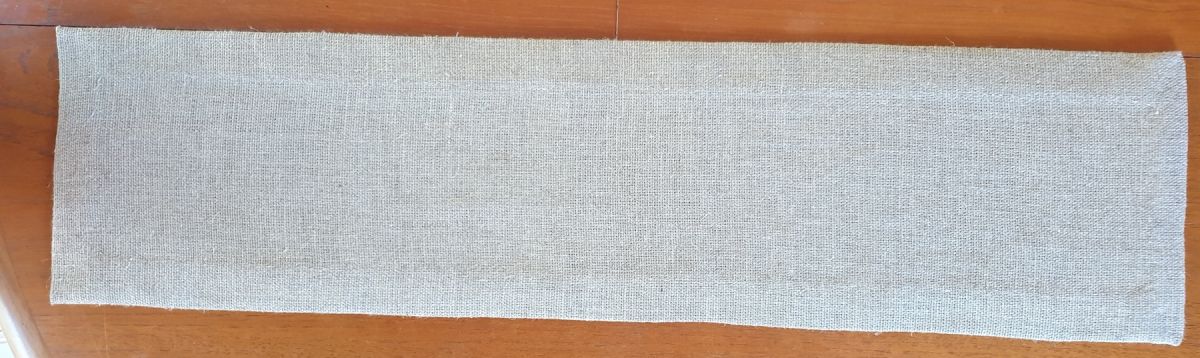
The Owner is thinking of framing this piece, so now with its built-in mounting and clean back it should easily drop into a frame or be hung from a support.
Being an “old salt” myself, with many years of handling sails, I can see other ways this piece might be hung using marine hardware to allude to the nautical theme. It could have grommets inserted in the top border or a length of marine rope overstitched around the edge or even be attached to a flat piece of weathered board or hung from a piece of driftwood or other items found washed up on beach – ghost nets or salvaged moring rope, all sort of possibilities; all would allow the piece to be hung from gallery art track, picture hooks or nails in the wall.
When Judy Taylor from Little House Rugs (USA) and I were discussing this fix  and I mentioned the back would be completely covered, Judy wondered if that might cause a problem for future repair, but as this work is to be hung not used on the floor, it shouldn’t be a problem. If worse came to worst the backing could be unpicked, not something I’d want to do knowing the hours it took working on all those tiny stitches.
Fortunately for the Owner I’m not charging for my time, only the new piece of backing fabric and return postage. I took this on thinking that it would be a quick fix. Even though it turned out to be a real challenge, I’m looking at it as a learning experience, one that I can share with others as the owner has given me permission to write about the repair of her hooked wall hanging.
Happy Hooking & Repairing